Sunday, April 7, 2013

Chair Seat Recovering

I have had my desk chair for years, and decided it was finally time to recover it. It turned out to be super easy, and now when I need to buy kitchen table chairs, I won't be afraid to buy ones at a garage sale with an ugly fabric.

First I unscrewed the chair seat from the chair, and my boyfriend took the staples out of the bottom.


I made sure I had enough fabric to cover the whole seat with about 2 inches extra on each side to staple. 

We stapled one side of the fabric to the seat first, then did the side directly across from it. Make sure you pull the fabric tight.


Then staple the middle of the other two sides, leaving the corners unstapled. When you get to the corners just pull the fabric over to make a pleat. My boyfriend thinks the more staples the longer it will last, but just a few will be fine.


Sunday, March 24, 2013

Easter Bunny Banner

This creative banner is from the blog Pieces of Me, the page is for all her decorating ideas, keep scrolling down I promise it's there.

What you need:
Patterned scrapbook paper
Scissors
Cotton balls
Glue
Ribbon

Directions: 
Cut out bunny shapes on patterned paper, add cottonball tail, hole punch and string onto ribbon. Done!

 Carrot Banner found here


Friday, March 22, 2013

Paper Strip Carrots

This cute Easter decoration is another paper craft I love. The original post is from Lisa Storms.

What you need:
Orange and green cardstock
Paper cutter
Craft scissors with a design
Stapler
Ribbon

Directions:
I marked 1 inch wide sections across the orange cardstock and then used my fancy craft scissors to cut the strips so they had a jagged edged.  I tried the strips in different lengths, smaller was better. Also cut 1 inch wide strips from the green paper keep these long.

Take a green strip and make and 'M' shape. Take the bottom parts of the 'M' touch so it forms a heart.


Take the ends of orange strips and line them up with the green so it's inside the two orange strips.


Then fold the orange down so the leaves are on top and you can staple the bottom of the carrot.


 Hole punch and slide onto ribbon.


Tuesday, March 12, 2013

Flower Pomander

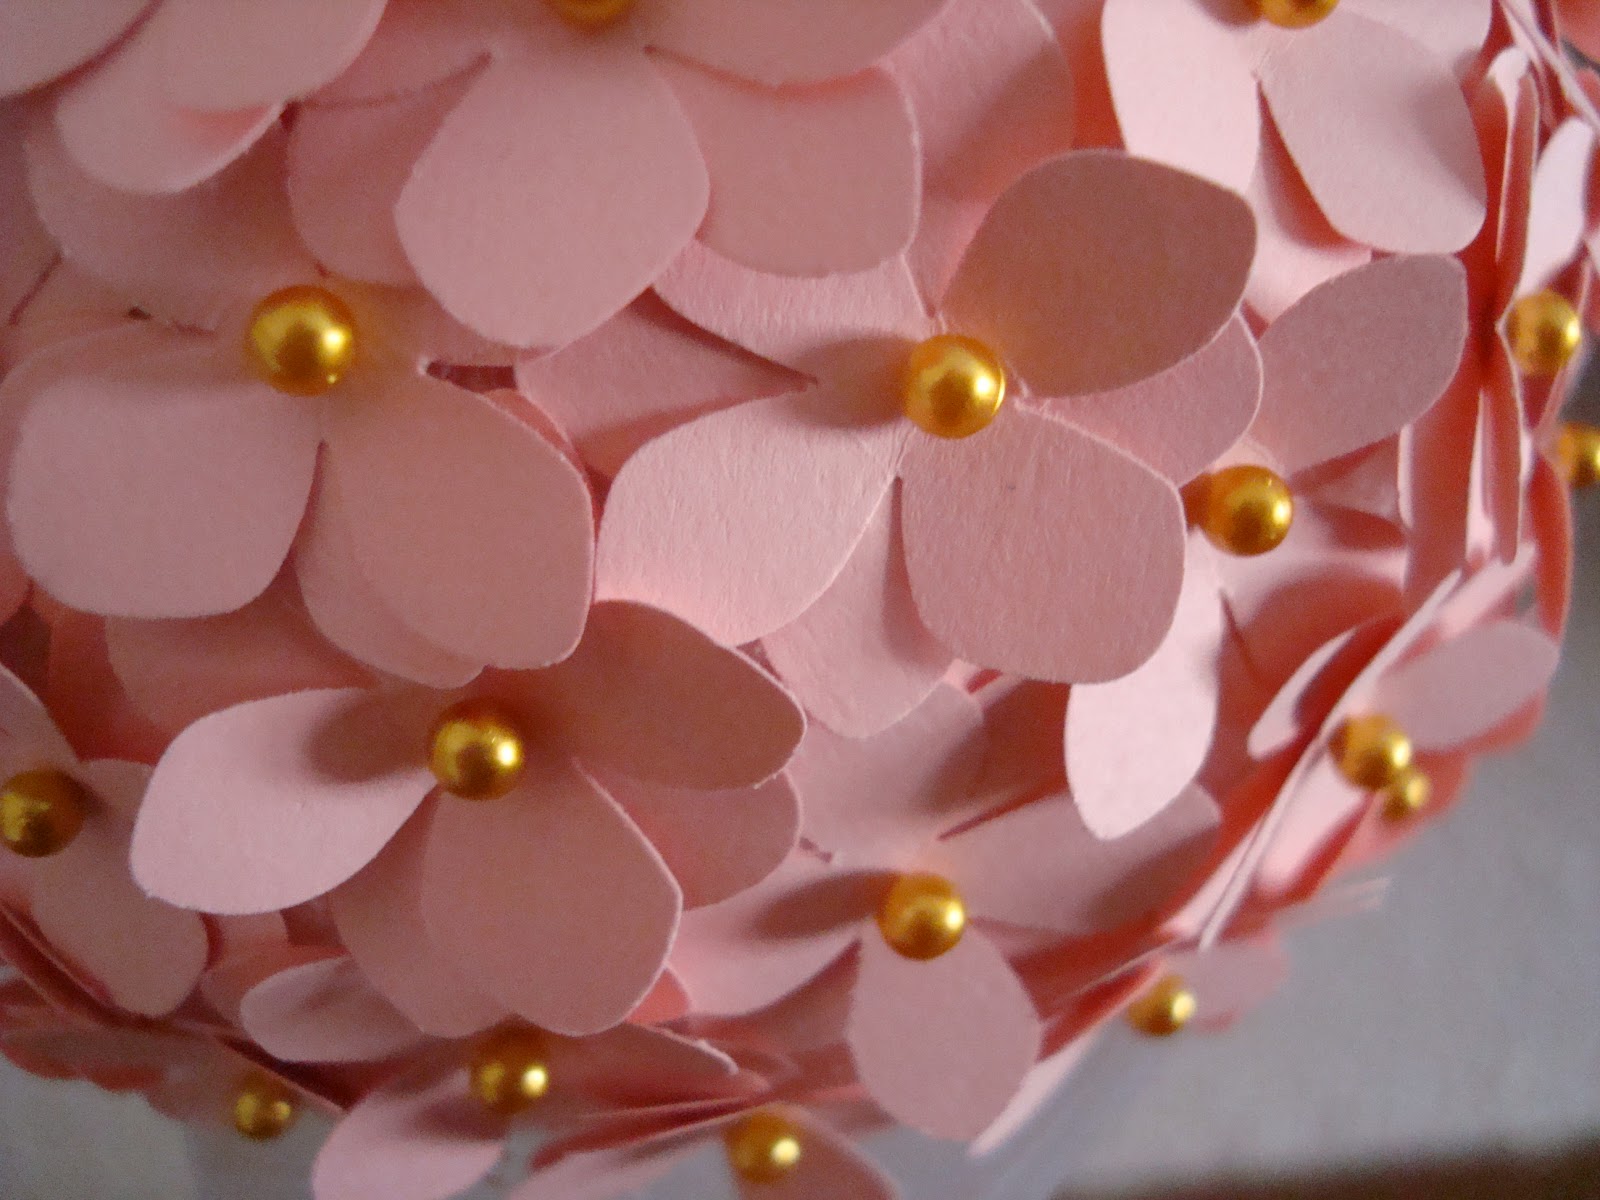
I had this pin on my board for a long time and now that Spring is finally coming I had a reason to make one.  The original post is from Pizzazzerie.

What you need:
Styrofoam ball
Flower punch
Sewing pins in any color
Scrapbook paper


Directions:
I found it easiest to cut the scrapbook paper into strips wide enough to fit the flower punch, then cut about 10 flowers out of each strip.


Then put a pin through the middle of two flowers, pull the edges up to make it 3-D and arrange them so the petals are opposite. It's easiest to cover the whole Styrofoam ball if you start out by putting them close together.


Wednesday, March 6, 2013

Paperstrip Shamrocks

Another paper crafting success. This time making Shamrocks from the heart craft I did for Valentine's Day.

What you need:
Card stock paper
Paper cutter
Stapler

Directions:
Make 3 paper hearts from the directions here. Staple the bottom of the 3 hearts together, and add a strip of paper for the stem.

I made the outermost strips of the heart a little longer than the other ones so I had something to use to staple the 3 hearts together. Push the 2 hearts on the sides down so they don't touch.


Wednesday, February 27, 2013

Cool Whip Cookies with Andes Mint Frosting

Our office decided to have a cookie exchange to celebrate the February birthdays and I decided these cookies were guaranteed to be an original. The recipe is actually 2 different cookie pins. The cookie is from an insurance blog (of all places!) and the frosting idea is from Six Sisters' Stuff. Sorry about the awful pictures, I took them with my phone.

What you need:
1 box Devils Food cake mix (or any other flavor)
2 eggs
1 container cool whip (thawed)
Andes Mints

Directions:
Preheat oven to 350 degrees. Mix cake batter, cool whip and eggs in a large bowl until it's completely mixed. The batter will be fairly hard to mix because of the whip cream.  Keep your hands wet to better make balls of dough and place them on a greased cookie sheet. ( I usually skip the greasing of cookie sheets part and just use foil so I have a quicker clean up. However, for this recipe it did not work. I had lots of trouble getting the cookies off the sheet in one piece)


Let cookies bake for 10-12 minutes. As soon as you take them out of the oven place an Andes Mint on top to melt. Spread it around with a spoon when it's melted. When the cookies are cooled then take them off the cookie sheet.  If you take the cookies off the sheet before melting the Andes Mints, they don't melt. I had this problem on a few of my cookies.


Wednesday, February 20, 2013

'Strawberry Cheescake' Cookies

I decided on Wednesday, the day before Valentine's Day, that I was going to bake something for my co-workers, who have been a bit deprived of my baked goods lately.  I found this great and easy recipe for cake batter cookies from Thirty Handmade Days.

What you need:
1 box strawberry cake mix (I had to buy regular because the store was sold out)
2 eggs
¾ cup of shortening

Frosting:
8 ounces cream cheese
½ stick of butter, softened
2 tsp. vanilla
4 cups powdered sugar


I also bought a packet of Strawberry Shortcake frosting flavoring from Duncan Hines.  My original idea was to add that to the cake mix to make it flavored, but since I never used it before I just added red food coloring to the batter and made strawberry cheesecake frosting.

Directions:


Mix together batter ingredients, the dough will be pretty stiff- mines stuck to a wooden spoon when upside down. 


Roll into cylinders and place two next to each other on the cookie sheet. Pinch the bottom to create a heart.  Bake at 350 degrees for 8-10 minutes.


This will only make about 12-15 cookies total
depending on how big you make them.


For the frosting: Mix cream cheese, ½ stick of softened butter, and vanilla. 
Then slowly add in one cup of powered sugar at a time until creamy. Then, if using a frosting packet add it now and you're ready to frost. 


Wednesday, February 13, 2013

Thin Crust Cupcake Tin Pizzas

This recipe was one of those pins I had for a while and kept wanting to do but always thought it looked too difficult. But it was surprisingly quick, easy and made with a few staples I always have in the fridge  Which is great when I'm running low on food and have yet to go to the store.  Originally from Dashing Dish this recipe is similar to the cupcake pizzas I made before, but a little healthier.

What you need: 
Regular sized tortillas
Pizza sauce
Shredded cheese
Other toppings as desired
Cupcake tin
An open can (pizza sauce), or biscuit cutter to make the right size tortillas. 


Directions: 

Preheat oven 425 degrees and spray the cupcake tin with non-stick spray. 

Take a tortilla and on a flat surface cut circles a little bit larger than the size of the cupcake molds. If you use the pizza sauce can, you should be able to get the right size. I used a drinking glass to make an indent in the tortilla and then a knife to cut it since I didn't have an empty can.  


Take each tortilla and push it into the cupcake mold. 


Add a spoonful of pizza sauce, or in my case pasta sauce, since I didn't have pizza sauce. Cover with cheese and other toppings. 


Bake for 12-15 minutes or until cheese had melted and the tortilla is golden brown. 


I think the cup I used may have been a little too small. It was only slightly larger than the cupcake mold. If the tortilla is bigger, it should make a cup like a tortilla shell for a Mexican salad. 


Thursday, February 7, 2013

Origami X's and O's Garland

I love this idea for a garland to make something for Valentine's Day that doesn't involve hearts. I thought it would come out in a larger size than it really is; each X and O section is only about 2 inches wide.  The original post of from Origami Spirit and includes a very helpful video, I also have directions written out below with pictures.

What you need:
Printer paper, NOT cardstock or construction paper, they are too stiff
Paper cutter

Directions:

Cut 1/4 inch strips from the paper so they are 11 inches long.  (I used a 1/2 inch piece for the directions so it's easier to see, and suggest trying it the first time with the same size.)


Fold the strip of paper in half and make a crease. 


Flod the right side up with the left side of the strip lined up with the crease.


Fold the right side down on the back side of the paper.


Fold the right side back up on the front side, make it even along the bottom.


Now take the left side, which is now longer than the right, and slide it through the 'pocket' you made with the left strip. The left strip goes over the front of the pocket and gets tucked on on the right side. 


It will make a circle when it starts going through the pocket.


Keep pulling the strip through until it looks like it does below. 


Take one of the strips and fold it downward into the center pocket. 
If it's not working flip it over and try from the other side. 


Keep pushing it through until half of it is on the other side. 
Then take the end and push it through the pocket just enough to hold it in place. 


Repeat with the other side. 


To make the O's you start the same way as the X's tutorial. Once you finish the pocket you take one strip and instead of folding it down into the pocket, go to the other side of the pocket to form a circle. The other strip then goes the other way.