Saturday, September 29, 2012

Halloween Lanterns

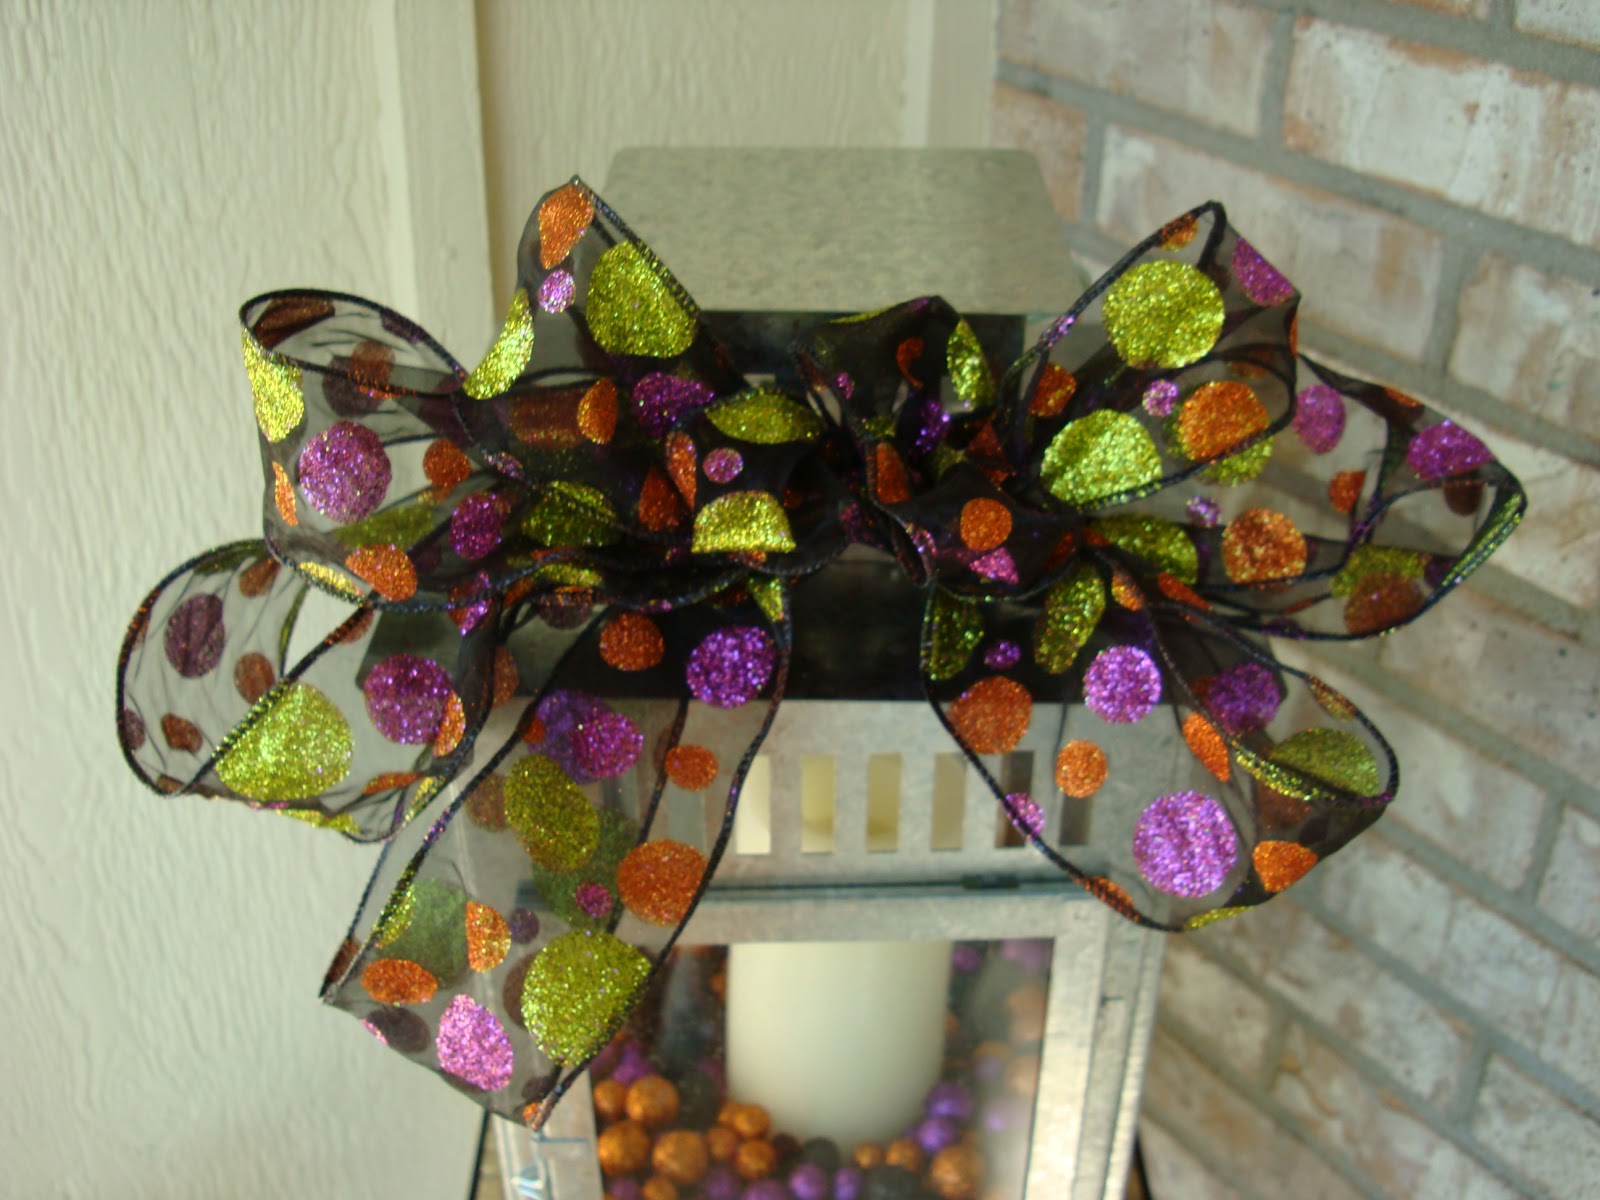
Lots of people on Pinterest use thier fireplace and mantel to decorate seasonally. But in our house the mantel isn't a focal point and no one would ever see my awesome decorations so I decided to use lanterns on our porch.

I know that I bought the large lantern at Ikea, but I don't remember where the others are from. I made the bow myself :) which is the best one I have made yet! The filler, ribbon, and brooms were purchased at Michaels.


Tuesday, September 25, 2012

Decoupage Pumpkins


I found these really cute pumpkins on Tracy's Trinkets & Treasures, and I have a friend who loves leopard print so I needed to make one for her! Plus they are super cheap and easy to make.

 
What you need:
Craft pumpkin, any size
Tissue Paper
Mod Podge, I used matte, but glossy would work too
Fake flowers or leaves
Hot glue gun


Directions:
Clean the craft pumpkin with a damp cloth so the Mod Podge will stick better. 

I cut the tissue paper into one and two inch strips to male it easier to apply. I think squares, or circles would be easier.


After “gluing” the tissue paper onto the pumpkin with the Mod Podge, I sealed it with a layer on top.


After the whole pumpkin was covered with tissue paper I added some leaves and a flower to the top to add some decoration and to cover up ends on the paper on the top. Not really a fan of the flower, maybe just leaves next time. 


Thursday, September 20, 2012

Blue Moon Cupcakes


I made these cupcakes with a friend for her Housewarming Party and they were a huge hit. The original recipe we used was from Erica's Sweet Tooth.  

What you need: 
    For Cupcakes
3/4 cups unsalted butter, softened

1-3/4 cup sugar

2-1/2 cup flour

2 tsp baking powder

1/2 tsp salt

3 eggs, at room temperature

1 tsp vanilla

1/2 tsp orange or lime zest

1- 1/2 cups Blue Moon 
1/4 cup milk
Orange wedges for garnish

    For Frosting
12 oz cream cheese, cold
6 tbsp butter, at room temperature

1 tbsp freshly squeezed orange juice (we squeezed all we could from the orange for most flavor)
1 tsp orange zest

4 cups powdered sugar


Directions: 
Preheat oven to 375 degrees and place 24 cupcake liners in the cupcake pans

In a medium-sized bowl, whisk together the dry ingredients (flour, baking powder, and salt

In a different bowl beat together the butter and sugar with an electric mixer until light and fluffy, about 2-3 minutes. Then add the eggs one at a time, beating after each one is added. Add the vanilla and orange zest.

Combine milk and beer, and alternatively add this mixture and the flour mixture to the butter/sugar mixture with the mixer on low speed, starting and ending with the flour.  

Fill the cupcake liners 2/3 full and bake for 18 minutes.

While cupcakes are baking, cream together the cream cheese and butter in an electric mixer until smooth and creamy, about 2-3 minutes.  

Add the citrus juice and zest and gradually add the powdered sugar and beat until smooth, about 2 minutes.  

When cupcakes are done, poke holes in the tops of the cupcakes with toothpicks and brush some beer on each while still warm. 


Sunday, August 5, 2012

Paper Pumpkins

I thought I would get a jumpstart on making decorations for fall. And I was doing really well; but I never actually made any blog posts about what I made. I couldn't believe that it was a month since my last post! I have a new appreciation for all the moms and other women who work and have successful blogs. This is hard work.

I found these paper pumpkins from Hostess with the Mostess. I loved the heart garland I did for my Valentine's Day Party, so I though this would be a great fall version, and they are very easy to make.

What you need: 

12"x12" or 8"x11" sheets of paper in orange and green
Paper cutter (or scissors and a ruler)
Stapler or paperclips
String

Directions:

Cut one inch strips from the orange paper. I used 12x12 because I scrapbook and have tons of paper. I had enough strips from one sheet for 2 pumpkins and a few extra strips.


Then cut the strips into the following lengths:
One 12 inch, two 10 inch, two 8 inch and one 7 inch. I also tried various other sizes to make the final shape of the pumpkin different.


Hold all of the strips together with the ends flush, put them in size order with smallest one in the middle and the largest on the outside. Staple or paper clip the flush ends of the strips. Then make the strips on the other side, line up and staple them together.


For the leaves I folded a sheet of green paper in half and made a sort of bunny ear shape with the fold at the 'bottom of the ears'. Then I made a slit in the middle and slid it on top of the pumpkin. The original pin suggested you make the bunny ears with an extra trunk at the bottom so you can tape that to the top of the pumpkin on both sides.


Wednesday, August 1, 2012

Spaghetti Squash Spaghetti

This is another recipe I got from a neighbor, even though there are plenty of recipes I could pin for it.  I was never a big fan of Spaghetti Squash when I was younger. My mom would even make it with brown sugar and I still wouldn't eat it. But a few months ago my neighbor made Spaghetti Squash and added marinara and italian sausage and skeptical as I was I loved it! And it's super easy to make.

What you need:

1 Spaghetti Squash
1 jar of pasta sauce
Italian sausage, meatballs or ground beef

Directions:

I cooked my spaghetti squash in the microwave since that's the way  my mom always cooked it, but the food network says you can also bake it in the oven or boil it in a pot.

I placed my squash in a corningware dish with about an inch of water in it and used a large knife to make three slits in the top to help it steam.  Then place saran wrap loosely over the top (so it can rise) but make sure it is secured on all sides.

The after picture (I forgot to take one before)

Cook on high 20-30 minutes, until it is soft and dents when you lightly push on it.


When it is cool enough to handle place the squash on a cutting board and slice in half lengthwise. Spoon out the seeds in the middle and the "gunk".  Be careful not to scoop out the actual squash.


After the seeds are out, spoon the "spaghetti" out of the squash and top with sauce and meet.


Friday, July 27, 2012

Chocolate Zucchini Muffins

Earlier this week I posted about a new recipe I tried for Avocado Egg Salad, which was delicious. I also mentioned that I forgot two things at the store; mayo, which lead to my new recipe for egg salad, and baking soda. Both of which woud have come in handy this week.

I never make recipes from scratch, especially when I'm baking because I think it takes too long. But this past Wednesday a co-worker conveniently brought in a zucchini so I could make Zucchini bread for the office since I'm always baking treats. Zucchini bread is one thing I have never attempted to make. In fact I only had it during the summer growing up, when my next door neighbors made it with fresh zucchini from their garden.  The recipe below is my neighbor's recipe.

What you need:

2 eggs
1 3/4 cups sugar
1 tsp. vanilla
1/2 sour milk, I used regular milk with a tsp. of vinegar
4 tsp. cocoa
1/2 tsp. salt
1 tsp. baking soda
1/2 cup oil
2 cups grated zucchini
2 1/2 cups flour

Directions:

Preheat oven to 350 degrees. While it's heating cut a washed zucchini (with the skin still on) in half and use a cheese grater to grate the zucchini.  I had a rather large zucchini which made 4 cups when grated.


Mix all ingredients except the zucchini, after they are fully mixed add the zucchini.

Place batter in cupcakes papers or grease a 13 x 9 inch pan to make a cake. I made 24 cupcakes with my batter.  Place in oven for 20-30 minutes for cupcakes and 10- 15 minutes for cake.

Overall they turned out very well, but I couldn't taste the chocolate at all.


Wednesday, July 25, 2012

No-Mayo Avacado Egg Salad

Earlier this week I made a mistake. I went to the grocery store without my list. I wasn't planning on going but on my way home from church I passed the store, and it's just stupid to backtrack after I get my list from home. I did pretty well with remembering everything, except mayo and baking soda. Which is fine. I hate mayo and only use it sparingly and I can't tell you the number of times I've needed baking soda. Ok I can; and they can be counted on one hand.

So I got home from the store and after unpacking the bags I was looking for something for lunch when I saw them. Two hard boiled eggs waiting to be eaten in an egg salad sandwich. (This is by far one of my favorite things to eat. I've already made a post (here) about another no-mayo egg salad recipe with plain greek yogurt.)

I was so excited with the prospect of a good lunch when I realized I didn't have any mayo, or plain yogurt. (I also had to go later in the week to buy baking soda to make Zucchini Bread.)

So I starting looking through Pinterest for another version and decided to try one from Bizzy Bakes.  Since it was just me I cut her recipe amounts in half.

What You Need:
2 eggs
1/2 avocado peeled and diced
2 tablespoons prepared Dijon mustard
1/4 tsp salt
1/2 tsp ground black pepper
1/2 tsp garlic powder


Directions: 

Mash all ingredients in a bowl. Add dill or other herbs if desired.


My only criticism is just more of a personal taste. I do not care for Dijon mustard, but at least I gave it a try.  Next time I may try adding sour cream instead.


Monday, July 16, 2012

Cake Batter Cookies

This past Sunday I was having one of those days... an amazing day when I had absolutley nothing I needed to do.  The non-profit I work for, Wish of a Lifetime, had it's annual gala the night before and I was so excited to have Sunday off after working the event.

Even though I wanted something sweet I didn't want to go to the store, so I was so excited to find this recipe for Cake Batter Cookies from Six Sisters' Stuff.  I always have at least one box of cake mix in the pantry so it was the perfect thing to test out for my blog.


What You Need:
1 box of any flavor cake mix
1 tsp baking powder
2 eggs
1/2 cup vegetable oil
1 cup choclate chips (or peanut butter chips)


Directions:
Preheat the oven to 350 degrees and mix the cake mix and baking powder. Then mix in the eggs and the vegetable oil.

The batter was very thick and hard to stir but not clumpy.  I put aluminum foil on my cookie sheets so I dont have to clean them afterwards, but if you don't grease them, and drop the batter on with a spoon.


The original recipe said to bake them for 10 minutes but mine needed almost 20 minutes. I think it was the high altitude of living in Colorado that made it take longer.  They also spread out a lot more than I thought they would.

The cookies tasted just like cake, were better when they were warm and they kind of reminded me of muffin tops.  I think it would be fun to experiement with Red Velvet and funfettie cake mix.


Thursday, July 5, 2012

Quinoa Mac & Cheese

Since my sister is a vegetarian I have been trying to make more healthy vegetarian food for her. This Quinoa Mac & Cheese is a good recipe for her and something meat-eaters will like too. The orginal pin is from a really great blog Iowa Girl Eats.

I had never made quinoa before so I was surprised at the number of steps the recipe required but it was failry easy. I altered the recipe a little to make a little simpler for my irst time with the recipe. Visit the original recipe for a more flavorful version.

What you need:

2 tsp. Olive Oil
1/2 cup diced green pepper, red pepper or tomato
1 1/2 cups quinoa, rinsed and drained (I unknowingly bought a pre-washed kind which was very convenient)
1 clove garlic
3 cups water
2 large eggs
1 cup milk of choice
1 1/2 cups of grated cheddar cheese ( I will use more next time, it wasn't as cheesy as I thought it would be)


Directions:

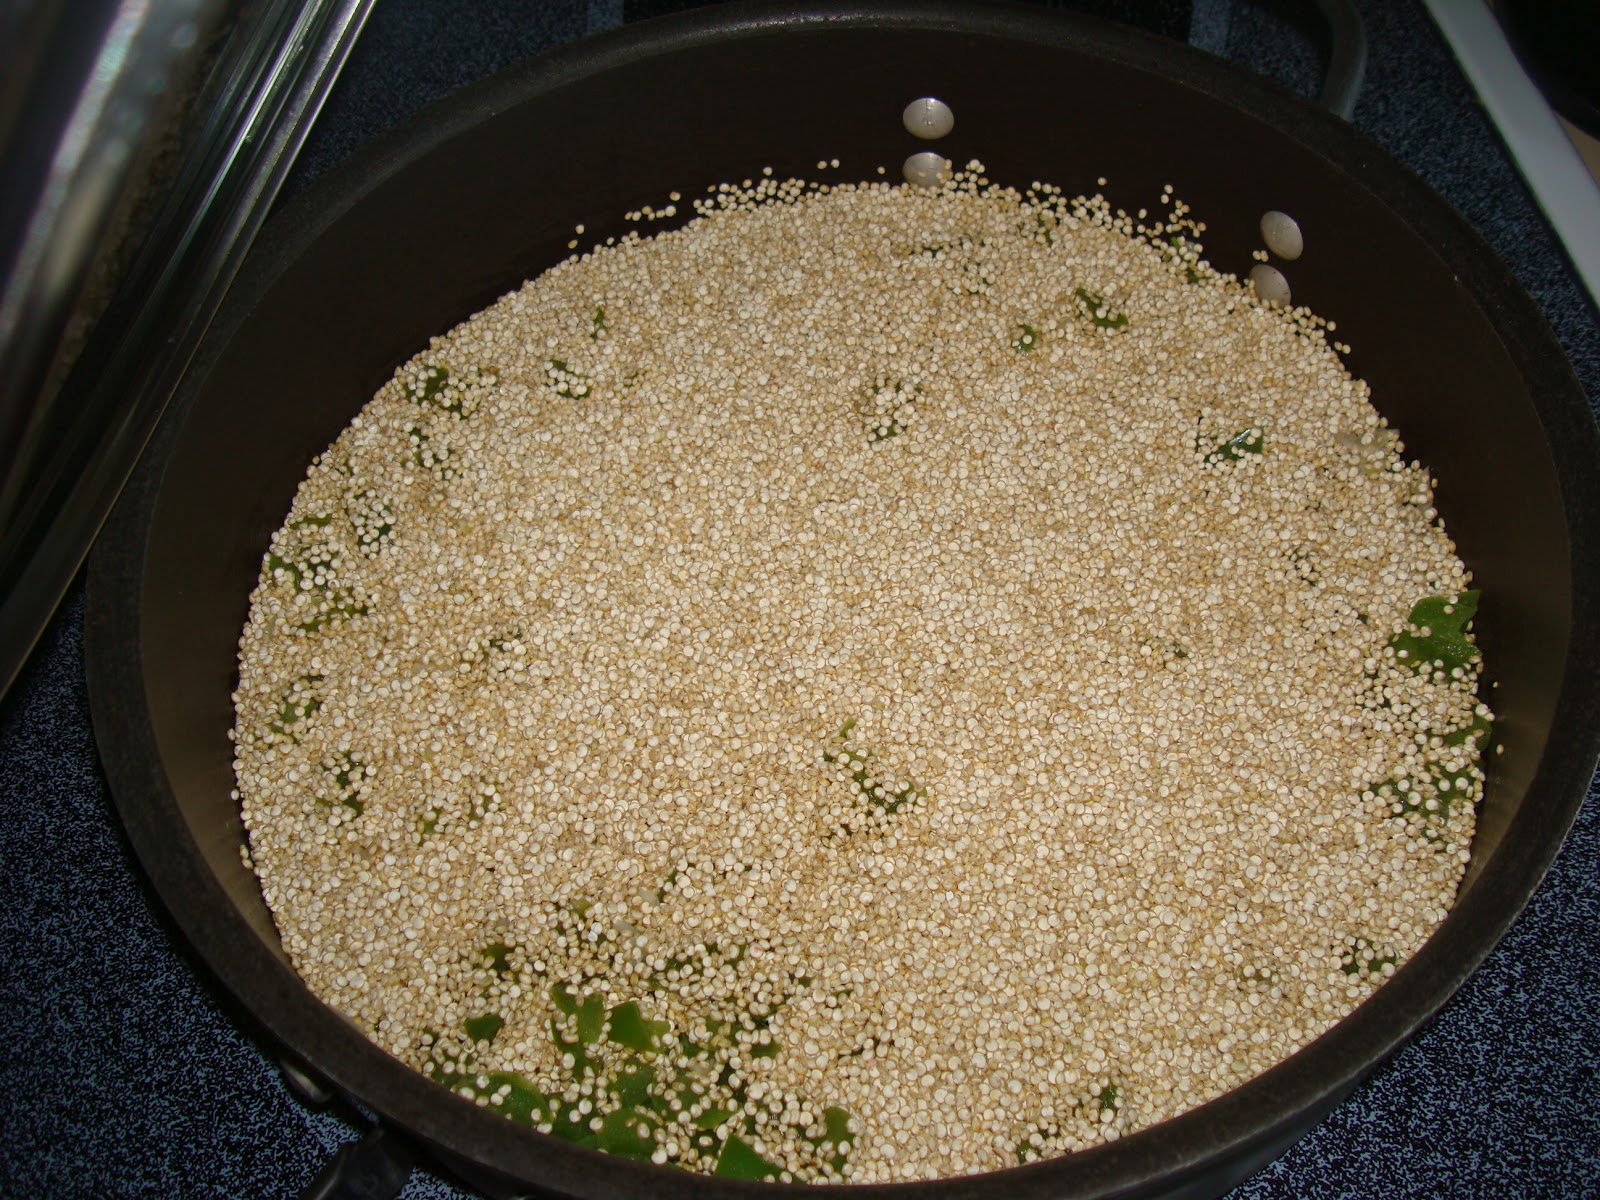
Heat the oil in a medium saucepan on medium heat. Add vegetables (mine were green peppers). Cover and cook 5 minutes.  Stir in quinoa and garlic, continue cooking uncoverd for 3-4 minutes until the grains turn opaque.


Add 3 cups of water  and cover and reduce heat to medium-low and simmer 15-20 minutes or until most of the liquid has absorbed. Remove from heat and let it stand for 5 minutes.


Now preheat the oven to 350 degrees. Then coat a casserole dish with cooking spray.  Whisk the eggs and milk in a large bowl and fod in the quinoa and cheese. Stir very well and let some of the cheese melt. It looks soupy but it will soak up.  Bake for 25- 35 minutes.


I made so much quinoa I needed to mix it up with the leftovers and I really liked it with salsa. I think adding some more veggies would also be really good.

Saturday, June 30, 2012

Picture Frame Dry Erase Board

One of my best friends got married the last day of June so I spent a few of my weekly pinterest activities on wedding related projects. But now that they are married I can post what I did!

For the couples wedding present I made a craft that I found when I first joined Pinterest and I was just waiting for someone to get married so I could make it.  It's another one of those pins that doesn't link to the original source. If you know please pass it along to me.  The picture is below so you can see my inspiration.


I liked everything about this dry erase board so mine is very similar. Although now I have some great ideas for the next few :)


Sadly I don't own a glue gun (it's on my list of crafty things I need) so I bought flowers that had sticky stuff already on the back. Hopefully the newlyweds like it!